

$AIRFLOW_HOME/dags folder of your Airflow instance.
This page shows you how to use a Python connector in a DAG to integrate Apache Airflow with a .
Prerequisites
To follow the steps on this page:- Create a target with the Real-time analytics capability enabled. You need your connection details. This procedure also works for .
- Install Python3 and pip3
- Install Apache Airflow Ensure that your Airflow instance has network access to .
company table you create in Optimize time-series data in hypertables
Install python connectivity libraries
To install the Python libraries required to connect to :-
Enable connections between Airflow and
-
Enable connection types in the Airflow UI
Create a connection between Airflow and your
In your Airflow instance, securely connect to your :-
Run Airflow
On your development machine, run the following command:
The username and password for Airflow UI are displayed in the
standalone | Login with usernameline in the output. -
Add a connection from Airflow to your
- In your browser, navigate to
localhost:8080, then selectAdmin>Connections. - Click
+(Add a new record), then use your connection info to fill in the form. TheConnection TypeisPostgres.
- In your browser, navigate to
Exchange data between Airflow and your
To exchange data between Airflow and your :-
Create and execute a DAG
To insert data in your from Airflow:
-
In
$AIRFLOW_HOME/dags/timescale_dag.py, add the following code:This DAG uses thecompanytable created in Create regular tables for relational data. - In your browser, refresh the Airflow UI.
-
In
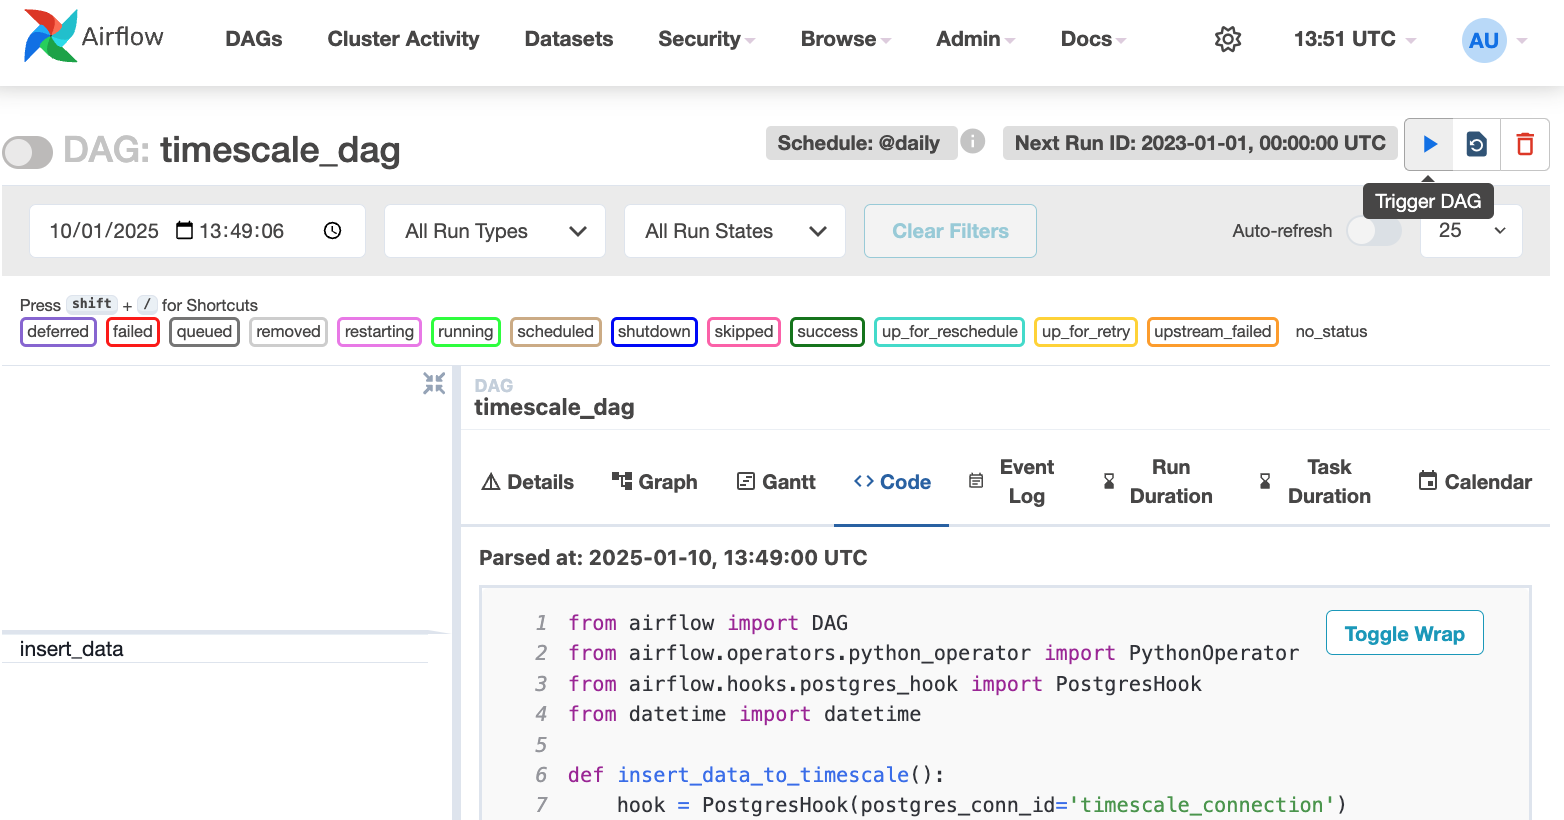
Search DAGS, typetimescale_dagand press ENTER. -
Press the play icon and trigger the DAG:
-
In
-
Verify that the data appears in
-
In , navigate to your service and click
SQL editor. -
Run a query to view your data. For example:
SELECT symbol, name FROM company;. You see the new rows inserted in the table.
-
In , navigate to your service and click